Last Updated: November 7, 2026
Quick Summary
Car seat upholstery repair is the process of restoring a damaged seat cover, padding or seam so the seat looks and functions as it should, using patching, filling, recolouring or stitching depending on the material and the type of damage. Diagnose the damage first, because a burn hole, a worn bolster and a split seam each need a different approach.
- Clean the damaged area with a mild interior cleaner and let it dry fully before you examine it.
- Check for an SRS Airbag tag and never push filler, needles or clamps into the outer edge of a front seat backrest.
- Build flexible filler in thin layers and stop when the repair is level, because overfilling looks like a scar and can crack within weeks.
- A filler will not work on fabric: it sets hard, cracks and pulls away from the weave.
- Repair makes sense when the damage is cosmetic and the seat structure and foam are sound.
Table of Contents
- Diagnose the Damage Before You Touch a Car Seat Upholstery Kit
- Car Seat Tear Repair: Step-by-Step for Small Holes and Seams
- Leather Car Seat Repair: Cleaning, Filling and Colour Matching
- Fabric Car Seat Repair: Burns, Bobbles and Worn Bolsters
- What Car Seat Upholstery Repair Cost Really Depends On
- Repair or Replace? The Decision Most Drivers Get Wrong
- Book a Home Visit and Get a Quote
- Frequently Asked Questions
Diagnose the Damage Before You Touch a Car Seat Upholstery Kit
Most DIY seat repairs fail before they begin, and the reason is almost never the kit. It is a misdiagnosis. A burn hole, a worn bolster and a split seam look similar in a photo but need three different approaches. At Uniqcare, we repair furniture and vehicle interiors, and the first question we ask is always the same: what actually failed here?
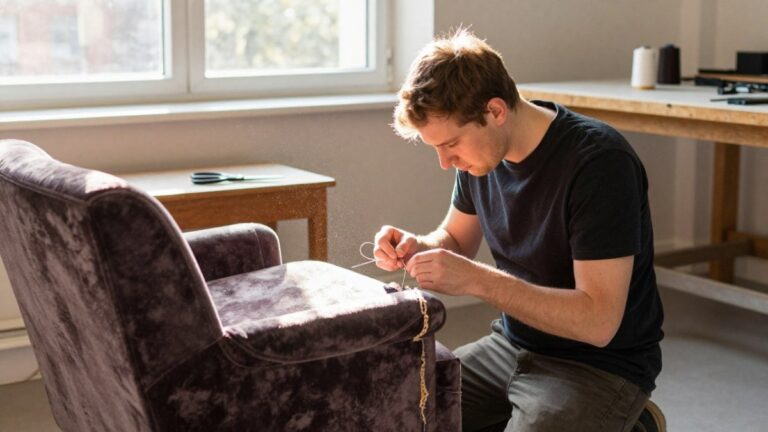
Car seat upholstery repair is the process of restoring a damaged seat cover, padding or seam so the seat looks and functions as it should, using patching, filling, recolouring or stitching depending on the material and the type of damage. Get the diagnosis right and the repair is far more likely to be invisible. Get it wrong and you will make the tear worse, which is exactly what happens to most people who buy a kit from a DIY shed and regret it.
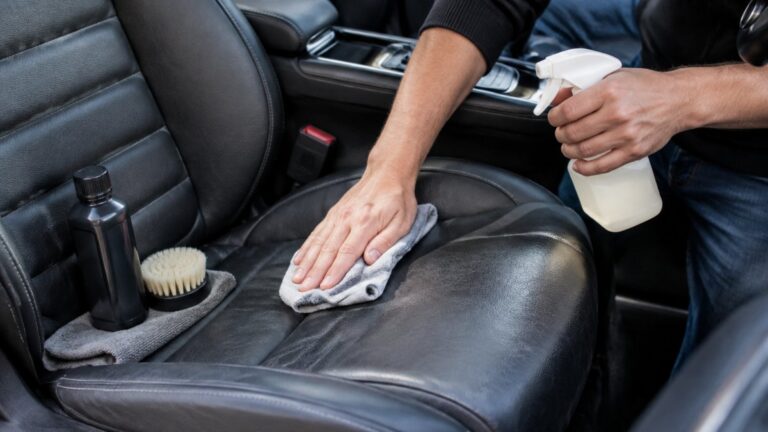
Start by cleaning the area with a mild interior cleaner and letting it dry fully. Then examine the damage in good light and classify it:
- Cracked or faded leather with no missing material: a colour and finish problem, not a tear
- A clean tear or small hole in leather or vinyl: a filling and patching job
- A burn hole or cigarette burn in fabric: a reweave or patch job, never a filler
- Worn bolsters where the grain has rubbed away: a recolour and seal job
- A split seam with intact material: a stitching job, best left to a trimmer
Check for Airbags and Seat Sensors First
Before any tool touches the seat, check what is underneath it. Many modern front seats contain side airbags that deploy from the outer bolster, plus occupancy sensors and heating elements. Puncturing or compressing the wrong area can disable a safety system or trigger a fault warning that stays on the dash.
Look for an “SRS Airbag” tag on the seat side, check your handbook for side airbag locations, and never push filler, needles or clamps into the outer edge of a front seat backrest. If the seat has a sensor or heater, keep adhesives away from the cushion centre where the element sits. If you are unsure, stop and let a professional handle it. This is one of the few parts of car seat upholstery repair where guessing is genuinely dangerous.
Classify the damage before you buy a kit, because each type needs a different repair.
| Damage | What it is | Repair route |
|---|---|---|
| Cracked or faded leather | Colour and finish problem, no missing material | Recolour and seal |
| Clean tear or small hole | Leather or vinyl damage | Filling and patching |
| Burn hole or cigarette burn | Fabric damage | Reweave or patch, never filler |
| Worn bolsters | Grain rubbed away | Recolour and seal |
| Split seam | Material intact | Stitching, best left to a trimmer |
Car Seat Tear Repair: Step-by-Step for Small Holes and Seams
Small tears in leather or vinyl are the most fixable damage on any seat, provided the edges are clean and nothing is missing. The method below works on bolsters, side panels and seat bases.
- Clean the tear with isopropyl alcohol and let it dry completely.
- Trim any frayed fibres with small scissors so the edges sit flat.
- Slide a piece of backing fabric under the tear to support the repair.
- Apply a flexible leather adhesive to the backing and press the edges together.
- Fill any gap with a flexible filler, building in thin layers.
- Leave each layer to dry before adding the next.
- Once level, colour and seal the repair to match the surrounding grain.
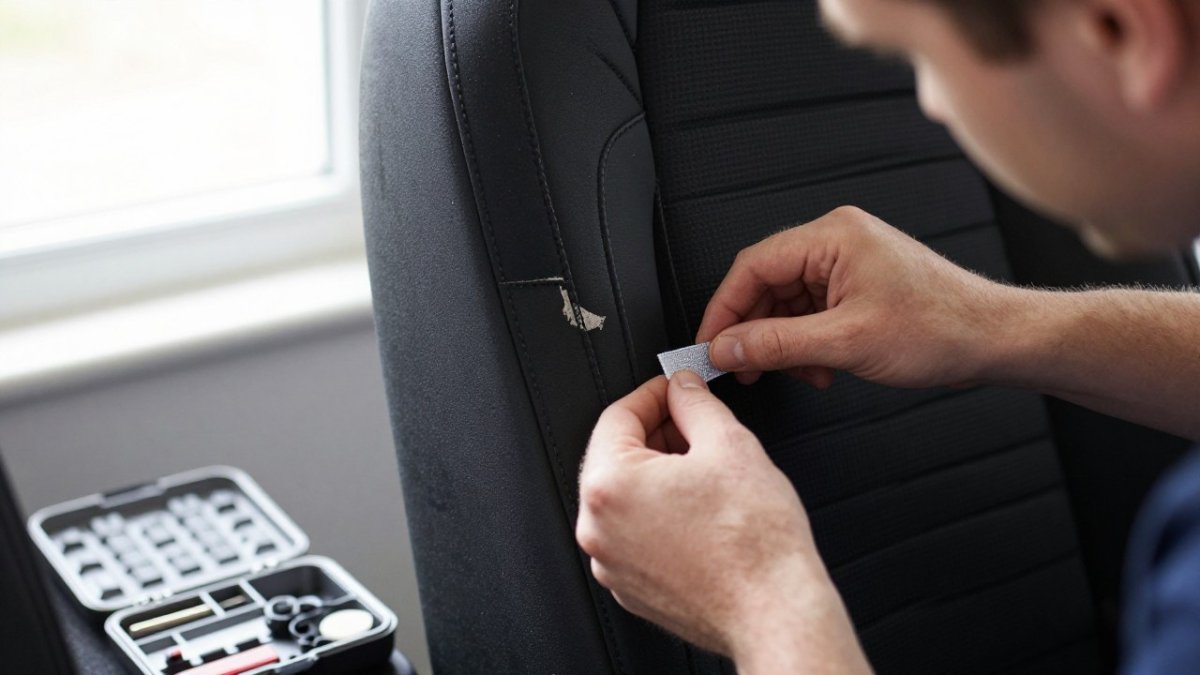
Watch out: overfilling is the classic DIY mistake. A filler that sits proud of the surface will look like a scar and can crack within weeks. Build thin layers and stop when the repair is level, not before.
For a fuller walkthrough of tear techniques, our guide on how to repair leather car seats covers the same steps in more depth.
Leather Car Seat Repair: Cleaning, Filling and Colour Matching
Leather that has cracked or faded needs a different approach from a tear. The goal is to remove the loose finish, rebuild the surface and blend a colour that matches under daylight, not just under a garage bulb.
Clean the panel with a pH-neutral leather cleaner, then gently sand the cracked area with fine paper until the flaking finish is gone. Apply a flexible leather filler in thin coats, drying between each. The colour stage is where most DIY jobs fall apart: a patch that looks right indoors often reads as a dull grey smear in sunlight.
If your seat is a light colour, a metallic finish or a two-tone design, matching it by eye is genuinely difficult. That is where professional colour matching earns its keep, and it is why we offer invisible repair of cuts, scrapes and wear patches as part of our service. For a deeper look at blending patches invisibly, read our guide on repairing cuts, scrapes and wear patches.
Fabric Car Seat Repair: Burns, Bobbles and Worn Bolsters
Fabric is not a single material, and the method that saves a velour bolster can ruin a modern synthetic weave. Before you buy anything, identify what you are working on: a woven cloth, a knitted velour, a synthetic suede or a patterned jacquard.
Cigarette burns and burn holes are the most common fabric fault. Trim the charred edge back to sound fibre with small curved scissors, then decide between a reweave and a patch.
Bobbling is friction wear, not a stain. Remove the pills with a fabric shaver or a fine-toothed comb, working in one direction with light pressure.
Worn bolsters are where fabric repairs most often disappoint. Where the pile has flattened, a fabric dye can restore colour but not texture, and a reweave is only realistic on a small area.
Foam damage underneath is often the real cause. If the padding has collapsed, the cover will wear through again quickly, so address the foam first.
What Car Seat Upholstery Repair Cost Really Depends On
There is no single figure for car seat upholstery repair cost, because the price depends on the damage, the material and the access. A small burn on a fabric seat base is a very different job from a full bolster rebuild on a leather sports seat. The useful way to budget is to compare the main routes rather than look for one flat rate.
Pricing depends on the damage, the material and the access required, so there is no single figure that applies to every seat. For current prices or a quote, please contact Uniqcare directly.
The main factors that move the price are:
- Damage type: a small tear costs far less than a torn seam or collapsed foam
- Material: leather, vinyl and fabric each need different products and time, and a rare or patterned fabric adds matching difficulty
- Panel access: door cards and seat backs take longer than a flat seat base
- Colour matching: unusual, metallic or two-tone colours add time
- Whether the seat must come out: some jobs can be done in place, others cannot
- Safety systems: seats with side airbags, occupancy sensors or heaters need more care and sometimes a qualified trimmer
Because pricing depends on all of these, we quote after assessing the damage rather than publishing a flat rate. We will always tell you honestly whether a repair is worth doing before you commit. Ask for a quote with photos of the damage and you will get a realistic figure rather than a guess. When you compare quotes, ask what is included: colour matching, sealant, a guarantee and whether the seat is removed are all things that change the final price.
Repair or Replace? The Decision Most Drivers Get Wrong
The instinct to replace a seat is usually wrong, and the instinct to repair everything is sometimes wrong too. The honest test comes down to three questions.
Repair makes sense when the damage is cosmetic, the seat structure and foam are sound, and the rest of the interior is in good condition. A cracked bolster or a burn hole on an otherwise tidy seat is almost always worth repairing, and the result preserves the car’s original trim.
Replacement or a full retrim makes more sense when the foam has collapsed across the whole seat, when multiple panels are worn through, or when the seat is a rare classic part where a proper retrim adds real value. For most modern cars with localised damage, repair wins on cost and keeps the original interior intact. If you are weighing up the money, our article on whether professional car interior restoration is worth it walks through the trade-offs in detail.
Book a Home Visit and Get a Quote
The simplest way to settle the question is to have the damage looked at properly. Uniqcare brings the repair to you: our technicians are fully DBS checked, we work at your home, and we have over 40 years of experience across leather, fabric and carpet. You do not need to leave the car anywhere or wait weeks for a workshop slot.
Send us photos of the damage and we will tell you what is fixable and whether a repair is the right call. If you would rather see how a home visit works first, read our guide on mobile car seat repair, then get in touch for a quote.
A damaged seat rarely needs replacing, but it does need the right diagnosis and the right materials. Uniqcare repairs leather, fabric and vinyl car interiors at your home, with invisible results, CRB checked technicians and over 40 years of experience behind every job. Get started with Uniqcare and restore your interior without the downtime.
Frequently Asked Questions
Can you repair a tear in a car seat?
Yes, most small tears can be repaired, and the method depends on the material. Fabric seats usually take a patch or a re-stitched seam, while leather and vinyl need cleaning, filling and a colour-matched finish. Damage under about 5cm is the easiest to hide. Larger splits, or tears along a seam that keeps reopening, often need a professional car seat upholstery repair to avoid a visible patch.
How much does car seat upholstery repair cost?
There is no single figure, because car seat upholstery repair cost depends on the material, the size and number of damaged panels, whether the seat has to come out, and how close a colour match you need. Small burn holes cost far less than a full bolster rebuild. Ask for a quote based on photos first, then confirm the price on inspection before any work starts.
Can leather car seats be repaired?
Yes. Cracked, scuffed or torn leather is usually repairable rather than replaceable. A leather car seat repair involves cleaning the area, filling cracks or holes with a flexible compound, then applying a colour-matched dye and a protective top coat. The key is matching the existing grain and sheen so the repair blends in. Very brittle leather across a whole panel may need retrimming instead.
Can a car seat be repaired without removing it from the car?
In most cases, yes. Small tears, cigarette burns, bolster wear and seam repairs can be done in place with the seat still fitted. Seats only need removing when the damage sits in a tight gap, when foam has collapsed, or when a full panel needs retrimming. A mobile service can assess this on site and tell you before any work begins.