Last Updated: November 17, 2026
Quick Summary
Yes, light car interior scuffs and surface marks on hard plastic are often worth tackling at home with a damp microfibre cloth, a mild cleaner or a plastic trim restorer. Deep scratches and damage that has lifted the grain usually need more skill than a home kit provides.
- Start with a damp microfibre cloth; if it lifts the mark, it was transferred material.
- Sort marks as a scuff, surface mark or deep scratch before attempting any repair.
- Test any product on a hidden area first, especially on leather or soft-touch trim.
- Limit the restorer to two passes; more usually means the mark is too deep for home methods.
- Avoid coarse sandpaper, strong solvents and heat guns, which can permanently damage trim.
Table of Contents
- The Safe Test to Tell Transferred Material From a Real Scratch
- Tools and Materials You Will Need for Repairing Car Interior Scuffs
- How to Remove Scuffs From Car Interior Plastic Step by Step
- Choosing a Car Interior Scratch Remover for Your Trim Material
- Repairing Deep Scratches in Car Interior Plastic by Damage Severity
- Car Interior Trim Restoration: Matching Colour, Texture and Finish
- Heat, Solvent and Abrasive Safety, and When to Book a Professional Repair
- Frequently Asked Questions
A scuff on car interior plastic is often just a transferred mark from a shoe, bag or jacket zip.
Shine a torch across the mark at a low angle.
Use this rough guide to sort what you see:
- Scuff: a mark that looks like it sits on top of the plastic and wipes away with a damp cloth
- Surface mark: a light haze or dulling that remains after cleaning but does not catch a fingernail
- Deep scratch: a visible groove, a line you can feel, or a spot where the colour or grain has been lost
Watch out: if the mark is on leather, the same rules apply, but leather damage can spread quickly with the wrong product.
Light scuffs and surface marks are often worth tackling at home.
The Safe Test to Tell Transferred Material From a Real Scratch
Many marks are not damage at all but material left behind by something that rubbed against the trim.
To run the test, follow these steps:
- Dampen a clean microfibre cloth with plain water. Do not use solvent yet.
- Wipe gently over the mark in one direction, using light pressure.
- Check the cloth. If it picks up colour or grey residue, the mark is transferred material.
- Look at the trim again once it is dry. A clean, even surface means the mark has lifted. A mark that remains unchanged is likely a scratch or a surface mark.
Keep the pressure light and stop if the mark does not start to lift after a few gentle passes. Pushing harder can turn a surface mark into a groove.
If the water test removes the mark, you are done. If not, you have a surface mark or a scratch.
Tools and Materials You Will Need for Repairing Car Interior Scuffs
Most home repairs need only a few basic items. Gather them before you start so you are not tempted to improvise with anything harsh.
- Two or three clean microfibre cloths
- A soft brush for getting into textured grain
- Mild car interior cleaner or a little warm water with washing-up liquid
Check the labels on any product. Make sure it suits the material you are treating, whether hard plastic, soft-touch surfaces or leather.
Keep your tools clean. A dirty cloth can drag grit across the surface and create new marks.
How to Remove Scuffs From Car Interior Plastic Step by Step
This method works well for light scuffs and surface marks on hard plastic trim. Work on a cool, dry day with the car parked in shade.
- Clean the area. Wipe the trim with a damp cloth and mild cleaner to remove dust and grit. [Time: 5 minutes]
- Dry the surface. Use a clean, dry microfibre cloth. Any moisture left behind can cause streaks.
- Test your product. Apply a small amount to a hidden spot. Wait a few minutes and check for any change in colour or texture. [Time: 5 minutes]
- Apply to the scuff. Put a small amount of trim restorer on a clean cloth, not directly on the car. Rub gently in small circles over the mark. [Time: 5 minutes]
- Buff off the residue. Wipe with a fresh, dry cloth until the surface looks even. Do not let the product dry on the trim.
- Check the result. Look at the area under good light. If the mark is still visible, repeat once. More than two passes usually means the mark is too deep for this method.
Expected result: a light scuff fades and the trim looks uniform. A deep scratch will improve only slightly, which tells you it needs a different approach.
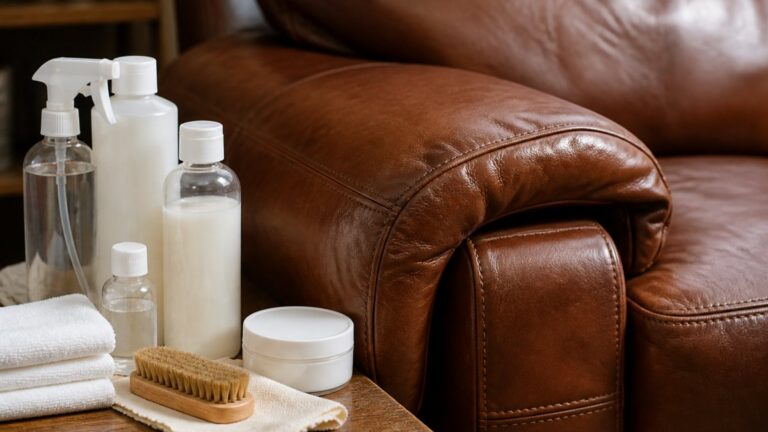
Many homeowners try the same steps on a sofa or armchair arm.
Choosing a Car Interior Scratch Remover for Your Trim Material
Not every scratch remover suits every surface. The material decides which product is safe; the wrong one can dull the finish, leave a sticky film or lift the grain.
Use this as a starting point:
| Trim material | Common finish | Suitable approach | Avoid |
|---|---|---|---|
| Hard plastic (dashboard, door panels) | Smooth or lightly textured | Plastic trim restorer, fine polishing pad | Strong solvents, coarse abrasives |
| Soft-touch or textured plastic | Grained or rubbery | Gentle cleaner, soft brush, mild restorer | Heavy polishing, sanding |
| Leather or leather-look | Grained, often protected by a coating | Leather-safe cleaner and conditioner | Solvents, anything containing alcohol |
| Carbon or gloss trim | Glossy, hard finish | Soft cloth, very light polish | Abrasives, aggressive pads |
Read the product label and check that it names your material. If the label is vague, do not use it on a visible area.
Be wary of products that promise to remove any scratch instantly. Light marks often respond to a restorer, but a deep groove will not disappear with a wipe.
Repairing Deep Scratches in Car Interior Plastic by Damage Severity
Deep scratches need a method that matches how far the damage goes.
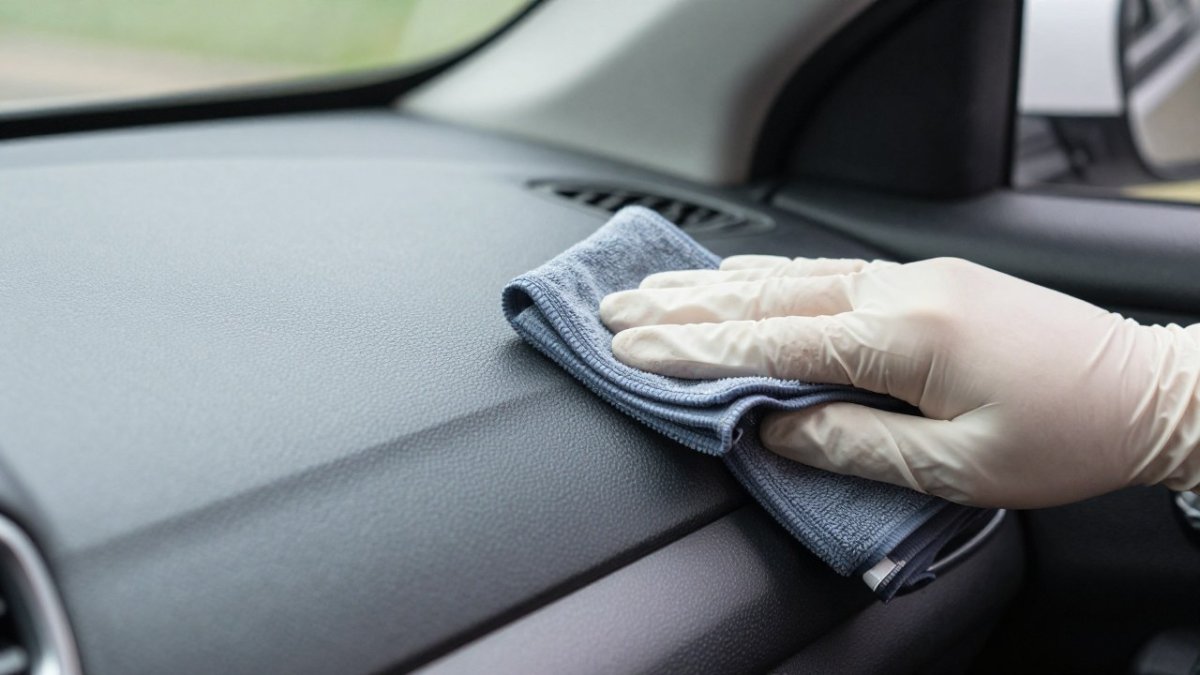
Level 1: Surface haze. The mark dulls the finish but does not catch a fingernail.
Level 2: Shallow groove. You can feel the scratch with a fingernail, but the colour is intact.
Work slowly at each level. Check the result after every pass.
Never use coarse sandpaper on car interior trim.
For a Level 2 repair, keep the polishing pad moving and wipe the area clean between passes. Excess product can hide the depth of the scratch and make it hard to judge your progress.
Car Interior Trim Restoration: Matching Colour, Texture and Finish
A repair that removes the mark but leaves a shiny or colour-mismatched patch can look worse than the original damage. Colour and texture matching is where most home repairs fall short. Interior trim is rarely a single flat colour: it has a base colour, a grain pattern and a top finish (matte, satin or gloss), and a restorer changes all three at once.
Read the finish before you touch it
Look at the surrounding trim in daylight, not under a torch. Note the base colour, the grain pattern (fine, coarse, directional or random) and the finish level. A restorer that adds shine to matte trim will stand out as a glossy patch; one that darkens light grey trim will leave a halo at the edge of the repair.
Match the grain direction
Most interior grain runs in one direction, often horizontally across a dashboard or vertically down a door card. Work with the grain, not across it: working across flattens the texture and leaves a smooth patch that catches the light differently. On a textured panel, use a soft brush to work product into the grain rather than a cloth that skims over the top.
Blend in stages, not in one patch
Many colour and finish problems come from restoring the trim in one large patch. Work in small sections and feather the edges as you go:
- Apply a small amount of product to the centre of the repair and work outwards.
- Stop short of the edge of the repair and wipe the boundary with a clean, dry cloth.
- Compare the repaired area with the trim beside it under the same light.
- Wait a day before judging the result, some restorers darken or flatten as they cure.
Watch out: adding more product rarely fixes a colour mismatch. If a second light pass has not blended the edge, the product is the wrong shade or finish for that trim, and more of it will only widen the patch.
Check for halos, gloss rings and texture loss
After each repair, check for four common failures: a halo (a ring of different colour around the repair), a gloss ring (a shiny edge where product has built up), a dull ring (where abrasion has removed the finish) and texture loss (a smooth patch in a grained panel). Any of these means the repair needs a different approach, not more of the same one. On a high-visibility panel, a visible halo usually means a professional colour match may be worth considering.
When matching is not achievable at home
Some finishes cannot be matched with a retail product: soft-touch coatings, two-tone panels, metallic or pearlescent trim, and leather with a factory coating. A home repair will improve the mark but may not make it invisible. If the panel is in direct view, a professional repair or a replacement trim piece is often the cleaner outcome.
Heat, Solvent and Abrasive Safety, and When to Book a Professional Repair
Heat, solvents and abrasives are the three home methods most likely to turn a small mark into a permanent one. Each works by changing the surface, so each has a point of no return.
Heat: how it works and where it goes wrong
Gentle warmth softens the top layer of hard plastic so a raised edge or light friction mark can be eased back down.
Watch out: if the plastic starts to look glossy, wet or slightly rippled, stop immediately and let it cool. That is the surface beginning to flow, and it will not return to a matte grain once it has done so.
Solvents: which families to avoid
Solvents lift transferred material and soften adhesives, but they also attack the plasticiser in soft-touch coatings and the dye in leather. Avoid anything containing acetone, toluene, xylene or strong alcohol on interior trim; white spirit and tar remover are for exterior paint, not a dashboard.
Watch out: never mix solvent types or layer a solvent over a freshly applied restorer. The reaction can leave a sticky film that attracts dust and is hard to remove without more solvent.
Abrasives: the one-way street
Abrasion removes material, and interior trim has very little to spare. A fine polishing pad on hard plastic can soften a shallow groove, but coarse sandpaper, scouring pads and cutting compounds remove the texture and matte finish in seconds. Once the grain is flattened, no restorer will bring it back, the panel needs refinishing or replacing. If you can feel the abrasive biting rather than gliding, you have gone too far.
A staged decision framework
Work through these stages in order and stop at the first one that applies:
- Clean and test. If a damp microfibre cloth lifts the mark, it was transferred material, stop here.
- Gentle treatment. A trim restorer and a soft cloth suit surface haze and light scuffs on hard plastic.
- Controlled polishing. Only on hard plastic, only with a fine pad, only in one direction, checking after every pass.
- Specialist repair. Deep grooves, lost colour, damaged grain, soft-touch coatings, leather and high-visibility panels such as the top of a dashboard or the driver’s door card.
Consider a professional repair if the scratch has lost colour or shows the base material, if the damage covers a large area or several panels, if the trim is leather or a soft-touch finish, if your test patch shows any unexpected change, or if two careful home attempts have not improved the mark. A professional may be able to match colour and texture more closely than a home kit.
Uniqcare repairs furniture and vehicle interiors across the West Midlands. Pricing depends on the damage and the job, so please request a quote for an accurate figure.
Ready to restore your interior? Get in touch with Uniqcare for a quote on your car or furniture repair. We will look at the damage, explain your options and work at your home across the West Midlands.
Frequently Asked Questions
How do you remove scuff marks from car interior plastic?
Start by cleaning the area with a damp microfibre cloth and a mild interior cleaner to remove dirt that can cause extra friction. For many scuffs caused by transferred material, such as shoe sole marks, a gentle rub with a soft cloth or a dedicated interior trim cleaner is enough. Work in small sections, use light pressure, and check the result before moving on. If the mark stays after cleaning, it may be a surface scratch that needs a restorer or a deeper repair method, so test a small hidden area first.
Will a car interior scratch remover work on scuff marks?
A car interior scratch remover works best on surface marks and light scratches where the plastic itself is intact. Scuffs made of transferred material often lift with cleaning alone, while true scratches need a product designed for textured or smooth plastic. Always check that the product suits your trim material, as some solvent-based removers can dull or discolour soft-touch and painted surfaces. Apply a small amount to a discreet spot first and wait to see the effect before treating the whole panel.
Can a heat gun remove scratches from car interior plastic?
A heat gun can sometimes soften very light surface scratches in certain thermoplastics, but it carries real risk of warping, discolouring or melting trim. Keep the heat low, move the gun constantly and never hold it in one spot. Many interior plastics and soft-touch coatings do not respond well to heat, so test on a hidden area first. If you are unsure of the material, skip this method and use a gentler cleaning or restoring product instead.
Can you repair scratches on car interior trim at home?
Many light scuffs and surface scratches can be repaired at home with careful cleaning, a suitable trim restorer and patience. Deeper scratches that have gone through the surface layer, cut into textured grain or damaged a coated finish are harder to make invisible and may need professional attention. Work slowly, test every product on a hidden spot, and stop if the damage worsens. If the trim is cracked, split or badly gouged, a professional repair or replacement is usually the better option. Uniqcare offers repairs carried out at your home, and you can get a quote through the website to find out what suits your damage.