Quick Summary
To fix leather sofa tears, first work out whether the damage is a structural split or a cosmetic scratch, since each needs a different repair. Small splits can be fixed at home by cleaning the area, inserting a sub-patch under the tear, filling and sanding, then colouring and sealing. Larger tears, or those on visible arms or seams, usually need a professional.
- Run a fingertip over the mark: if it catches or feels open, it is a structural tear.
- Clean the tear and a 5 cm margin with leather degreaser before any adhesive goes on.
- Insert a sub-patch about 1 cm larger than the tear to give the adhesive something to bond to.
- Apply leather filler in layers of no more than 1 mm, sanding with 400-grit paper.
- Allow roughly 24 hours for adhesive, 24 for filler and 24 to 48 for colourant before sitting on it.
Table of Contents
- How to Fix Leather Sofa Tears: A Step-by-Step Guide
- Assessing the Damage: Structural Tears or Cosmetic Scratches?
- Tools and Materials You Will Need
- Step-by-Step: Repairing a Leather Sofa Tear
- How Much Does Professional Leather Sofa Restoration Cost?
- Preventing Tears: Pet Damage, Wear and Everyday Care
- Booking a Repair for Your Leather Sofa in the West Midlands
- Frequently Asked Questions
How to Fix Leather Sofa Tears: A Step-by-Step Guide
Last Updated: November 15, 2026
Assessing the Damage: Structural Tears or Cosmetic Scratches?
A leather sofa tears when the hide splits, and that needs a proper repair, not just a surface fix. Before you buy anything, work out what you are dealing with. The first question to ask is simple: does the damage go through the leather, or does it only mark the surface?
Run your fingertip along the mark. If it catches, lifts or feels open, you have a structural tear. If the surface is scuffed but still sealed, it is a cosmetic scratch. This matters because the two need different fixes.
- Structural tear: the leather has split, often at a seam or on a high-wear arm. It needs a sub-patch and adhesive.
- Cosmetic scratch: the colour or top coat is damaged, but the hide is intact. It usually needs colourant and a light finish.
- Pet damage: claw marks can look like scratches but often pull the grain and go deeper than they appear.
Structural tears are the harder job. Left alone, a small split tends to widen with every sit, so treat it early.
Tools and Materials You Will Need
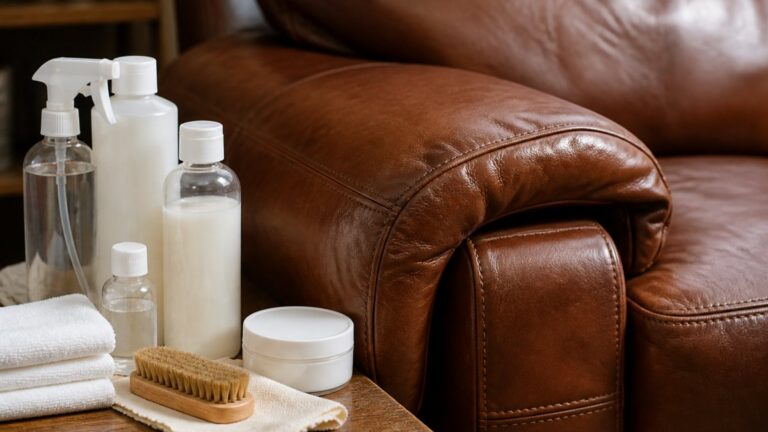
For a small tear, you will need a few basic items. Gather everything before you start, so you do not have to stop halfway through.
- Leather degreaser or a mild solvent
- Soft cloths and a cotton bud
- Small sharp scissors or a craft knife
- A matching sub-patch of backing material
- Leather adhesive suitable for upholstery
- Leather filler
- Fine sandpaper, around 400 grit
- Colourant matched to your sofa
- Topcoat or sealant
Choose a colourant that matches your sofa’s pigment, and test it on a hidden area first. Mismatched colour is the most common reason a DIY repair looks patchy.
Step-by-Step: Repairing a Leather Sofa Tear
Work slowly and in a well-lit room. Each stage builds on the last, so do not rush the drying times. The timings below are typical for a small tear on aniline or pigmented upholstery leather; always defer to the adhesive and filler manufacturer’s instructions, because formulations vary.
Cleaning the Area and Trimming Loose Threads
Clean the tear and a 5 cm margin around it with a leather degreaser. The aim is to remove dirt, body oils and old conditioner, because these form a barrier that stops the adhesive from wetting out and bonding. Apply the degreaser to a cloth rather than directly to the hide, work it in gently, then wipe off the residue with a clean cloth. Let the area dry fully, usually 15 to 30 minutes at room temperature, before moving on.
Next, trim any loose fibres or flaps with small sharp scissors. Cut them flush with the surface so the edges sit neatly together. A clean edge makes the final repair far less visible, and it prevents stray fibres from wicking adhesive up through the filler layer. If the tear has curled edges, press them flat with a warm (not hot) iron over a cotton cloth for a few seconds.
Inserting a Sub-Patch and Applying Adhesive
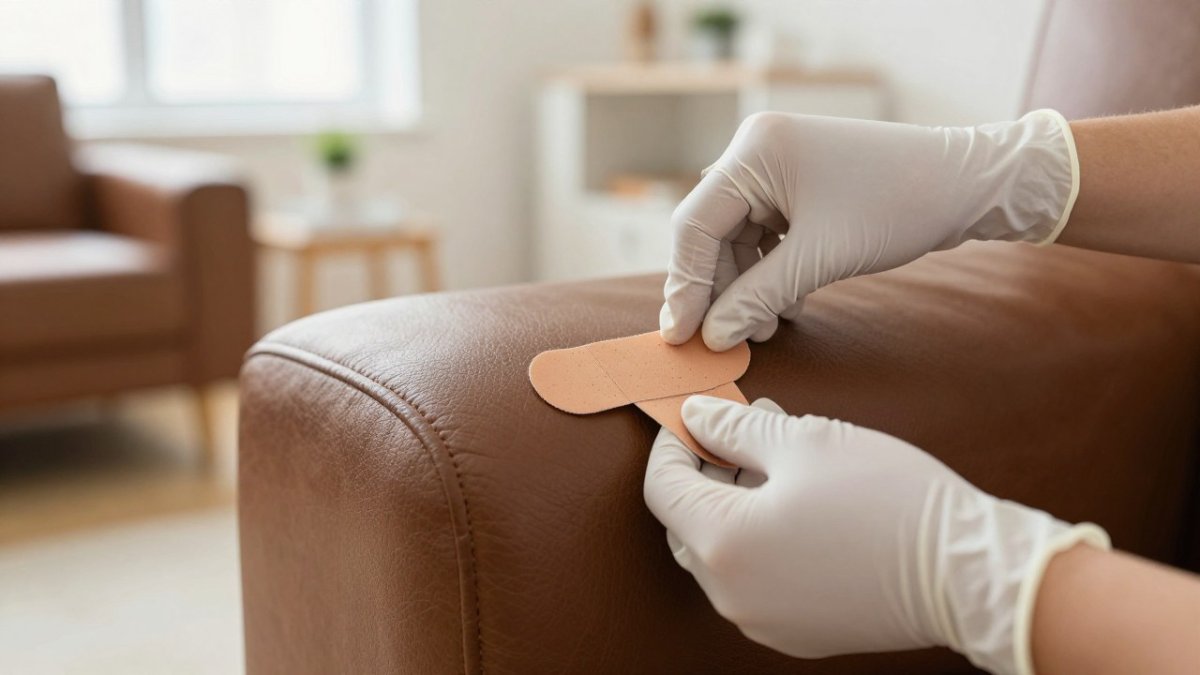
Slide a sub-patch under the tear so it sits behind the split. The sub-patch should be a flexible, porous backing material, a piece of suede split, a leather offcut or a purpose-made repair fabric, cut about 1 cm larger than the tear on every side. This gives the adhesive something solid to bond to and stops the split from reopening under load.
Use a cotton bud to apply a thin layer of leather adhesive to the sub-patch and the underside of the hide. Press the edges together gently and hold them for the time the adhesive instructions state, typically 30 to 60 seconds for a contact adhesive, or up to 24 hours for a water-based one to reach handling strength. Too much adhesive will show through, so less is usually better. Wipe any squeeze-out immediately with a clean cloth.
Watch out: if the tear crosses a seam or sits on a high-stress arm, a sub-patch alone may not hold, the repair needs to be reinforced from behind, which is usually a job for a specialist.
Using Leather Filler and Sanding the Repair
Once the adhesive has cured, fill any gap with leather filler. Apply it in thin layers, no more than 1 mm at a time, and let each one dry for the time stated on the tub, often 20 to 30 minutes. Build up until the filler sits just proud of the surrounding leather. Then sand the area lightly with 400-grit paper wrapped around a small flat block, keeping the block flat so you do not dish the surface. Finish with 800-grit if the filler feels grainy. Once the repair is sanded, see which leather conditioner suits an older sofa before you choose a finish.
Apply colourant in several light coats, letting each coat dry before the next, then finish with a topcoat. Watch out: rushing the colour in one thick layer is the most common mistake, and it leaves a visible ridge that catches the light. A hairdryer on a cool setting can speed up drying between coats, but keep it moving and never hold it close to the hide.
Curing and Drying Times
Resist the urge to sit on the sofa straight away. A typical schedule is 24 hours for the adhesive to reach full strength, 24 hours for the filler to harden fully, and a further 24 to 48 hours for the colourant and topcoat to cure before the seat is used. In a cool or humid room, allow longer. Do not cover the repair with a throw or cushion during curing, because trapped moisture can cloud the finish.
The table below summarises the main stages of the repair, with the typical timings the article gives for each.
| Stage | What to do | Time |
|---|---|---|
| Cleaning | Degrease the tear and a 5 cm margin | 15 to 30 minutes to dry |
| Trimming | Cut loose fibres flush with the surface | Not stated |
| Sub-patch and adhesive | Insert a sub-patch 1 cm larger than the tear | 30 to 60 seconds for contact adhesive, up to 24 hours for water-based |
| Filler | Apply in layers of no more than 1 mm | 20 to 30 minutes per layer |
| Sanding | Sand with 400-grit, finish with 800-grit if grainy | Not stated |
| Curing | Allow adhesive, filler and colourant to cure | 24 hours, 24 hours, then 24 to 48 hours |
How Much Does Professional Leather Sofa Restoration Cost?
Many people weigh DIY against hiring a specialist. The right choice depends on the size of the damage, how much time you have and how much a visible mistake would bother you. Most guides skip this decision entirely, so here is a practical framework.
When DIY Is the Right Call
A small, simple tear, under about 5 cm, on a flat panel, away from seams and not on a visible arm, is often manageable at home with the right kit. If the sofa is a mid-range model and the tear is cosmetic or shallow, the maths usually favours DIY.
When to Stop and Hire a Professional
Larger splits, damage on a visible arm or cushion face, leather sofa tears that cross a seam, and sofas with an already-faded or cracked finish are usually better left to a professional. The reason is not just skill: a poor DIY repair on a full-grain or aniline hide can stain the surrounding leather, and correcting it costs more than the original repair would have.
What Professional Restoration Typically Costs
Pricing depends on the size and location of the damage, the leather type and the amount of work needed. Always ask whether the quote includes colour matching and a follow-up visit, because those are the two items most often added later.
For a clear figure for your sofa, check Uniqcare’s website for current prices or request a quote. Our local service starts from £45.
Preventing Tears: Pet Damage, Wear and Everyday Care
Regular care keeps leather supple and less likely to suffer leather sofa tears.
- Clean and condition the sofa every few months.
- Keep pets’ claws trimmed and give them a scratching post.
- Avoid sharp objects, such as keys or zips, near the seating.
- Keep the sofa away from direct heat and sunlight, which dry out the hide.
Pet damage is a special case. Claws can pull at the grain before any visible leather sofa tears appear, so check the arms and seat edges regularly.
Booking a Repair for Your Leather Sofa in the West Midlands
If the tear is bigger than you feel comfortable tackling, Uniqcare can repair it at your home. Our technicians are DBS checked, and repairs are carried out at your home.
Uniqcare offers invisible repairs for damaged leather. To get started, visit our website and request a quote.
Frequently Asked Questions
Can you repair a tear in a leather sofa?
Yes, most tears in leather sofas can be repaired, provided the leather is not completely split through the full thickness of the hide and the tear sits on a flat, accessible section. Small cuts and punctures can usually be closed with a sub-patch, adhesive and leather filler, then colour-matched and sealed. Larger structural tears, especially on seams or high-stress areas such as arms and seat edges, often need reinforcement from underneath and may be better handled by a professional. Pricing depends on the size and location of the damage, so Uniqcare recommends checking the website for current prices or requesting a quote.
What is the best leather repair kit for sofas?
A good leather repair kit for sofas typically includes a colour-matched filler or compound, a flexible adhesive suitable for leather, a degreaser, fine sandpaper, a sealant or topcoat, and a small applicator set. Look for kits that state they are suitable for upholstery rather than just bags or shoes, as furniture leather is often thicker and more heavily finished. Colour matching is the most common weakness of DIY kits, so test the shade on an inconspicuous area first. For deep or structural tears, a kit alone rarely gives a durable result, and professional repair is usually the better option.
How do you fix a rip in a leather couch without sewing?
A rip can be fixed without sewing by cleaning and degreasing the area, trimming any loose fibres, slipping a sub-patch of backing material under the tear, and bonding the edges with a leather adhesive. Once the adhesive has cured, fill any gap with leather filler, let it dry, and sand it smooth before applying colourant and a protective topcoat. Work in thin layers and allow each to dry fully. Avoid pulling the edges tight, as this can create a visible ridge. Pet damage and repeated flexing at seams can cause tears to reopen, so check the repair after a few weeks of use.
Is it worth repairing a leather sofa or should I replace it?
In many cases, repair is good value, particularly for sofas with a sound frame and good-quality leather. Compare the repair cost against the price of a replacement sofa, factoring in delivery and the time it takes to get used to a new piece. A repair that restores appearance and comfort usually makes sense when the frame, cushions and springs are still sound. If the leather is cracked throughout, the frame is damaged or the sofa is heavily worn across many areas, replacement may be the more sensible choice.