Last Updated: November 12, 2026
Quick Summary
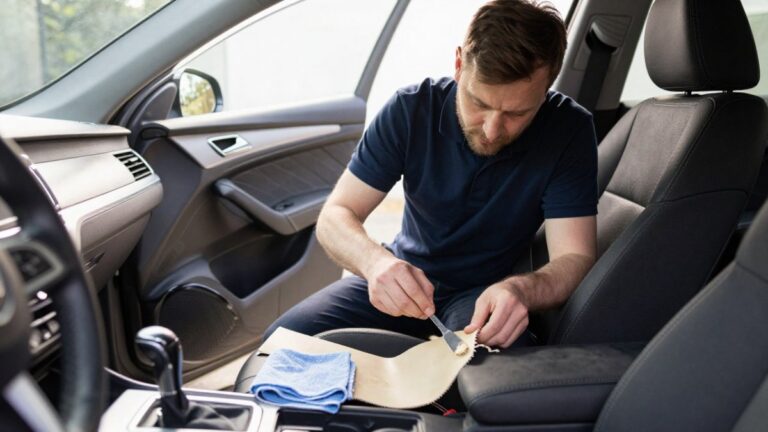
Yes, a torn leather car seat can often be repaired at home if the tear is small and on a flat panel. Clean the area with isopropyl alcohol, fit a backing patch, fill the gap with flexible filler, sand it flush, then colour-match and cure the repair before conditioning it.
- Measure the tear first; splits under about 2 cm are often suitable for home repair.
- Use isopropyl alcohol to clean the area, since oily residue stops adhesives bonding.
- Apply flexible filler in thin layers, letting each partly dry to avoid a lump.
- Test colourant on a hidden spot and blend outward in thin coats.
- Leave the seat unused for at least 24 hours before applying a leather conditioner.
Table of Contents
- Assessing the Tear: Size, Location and Severity
- Identifying Genuine Leather, Coated Leather or Vinyl
- Tools, Materials and a Leather Car Seat Repair Kit Checklist
- Step-by-Step: Cleaning, Patching and Filling the Tear
- Colour Matching, Dyeing and Curing the Repair
- Safety Checks for Airbags, Seat Heaters and Occupancy Sensors
- What a Repair Costs and When to Call Uniqcare
- Frequently Asked Questions
Assessing the Tear: Size, Location and Severity
Fixing a torn leather car seat at home is very doable, but only if you judge the damage correctly first. The first question to ask is simple: how big is the tear, and where is it? The answer decides whether a home repair will hold or whether you need a professional.
Start by measuring the tear with a ruler. Note the length and width, and check whether the leather is split right through to the foam beneath. A surface scuff is a cosmetic problem. A split through the hide is a structural one.
Use this quick triage guide:
- Surface scratches and scuffs: Usually fixed with cleaning and a leather colourant. Good for a DIY job.
- Small tears under about 2 cm: Often suitable for a backing patch and filler at home.
- Tears between 2 and 5 cm: Possible at home, but results depend heavily on skill and matching.
- Large splits or tears over 5 cm: Usually better left to a professional.
- Tears on seams, edges or stress points: These re-open quickly, so take extra care or call a specialist.
Watch out: Tears along a seam or near the seat’s bolster often flex every time someone gets in or out. A patch there can lift within weeks if the surface is not prepared properly.
Identifying Genuine Leather, Coated Leather or Vinyl
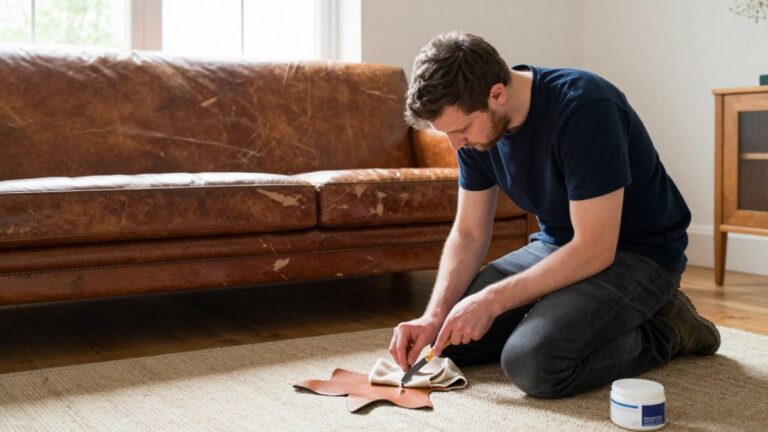
The repair method you choose depends on what the seat is made from. Genuine leather takes adhesives, filler and dye well. Coated leather (often called bonded or leatherette) and vinyl need different products, and some standard leather kits will not bond to them at all.
To check, look at the grain. Real leather has an irregular, natural pattern that varies across the panel. Vinyl and coated materials usually show a repeated, uniform pattern. Look at the edges of a tear too: genuine leather shows a fibrous cross-section, while vinyl shows a smooth, plastic layer over a fabric backing.
A simple test is to place a drop of water on an inconspicuous spot. Leather tends to absorb it slowly. Coated surfaces bead it up.
Many people assume their seat is leather when it is not. If you are unsure, check the car’s specification or ask a trim specialist before buying materials.
Tools, Materials and a Leather Car Seat Repair Kit Checklist
A good leather car seat repair kit covers most of what you need, but kits vary widely in what they include. Some contain only colourant and a sponge; others add filler, backing patches, adhesive and sandpaper. Check the contents list before buying, because a cheap kit that lacks filler or a backing patch will leave you buying extras mid-repair.
Before you start, check you have:
- A leather repair kit with backing patch, flexible filler and colourant
- Isopropyl alcohol or a leather-specific degreaser
- Lint-free cloths and cotton buds
- Fine-grade sandpaper (around 400 to 600 grit)
- A small palette knife or spreader
- A hairdryer or heat tool for curing
- Masking tape to protect surrounding leather
- A leather conditioner for aftercare
- A small sponge applicator for colour blending
- Disposable gloves
- A ruler or tape measure for assessing the tear
Essential versus optional. The non-negotiables are the degreaser, lint-free cloths, a backing patch, flexible filler, colourant, a spreader and fine sandpaper. A hairdryer speeds curing but is not essential in warm weather; masking tape is helpful on curved bolsters but optional on flat panels; gloves protect your hands from dye but are not required for the repair to work.
UK-available alternatives. If you cannot find a kit locally, look for automotive trim suppliers, specialist leather retailers and larger car accessory chains. Online marketplaces stock single items such as flexible filler and automotive colourant separately, which is often cheaper than buying a second full kit.
What to avoid. Do not substitute superglue for flexible adhesive; it sets hard and will crack as the seat flexes. Avoid household silicone sealant as filler for the same reason. And do not use a heat gun on high settings near vinyl or coated leather, which can scorch or distort at lower temperatures than genuine hide.
UK automotive trim suppliers
Step-by-Step: Cleaning, Patching and Filling the Tear
This is the core of the repair. Work slowly and allow proper drying between stages. Expect the whole job to take several hours across more than one day once curing is included.
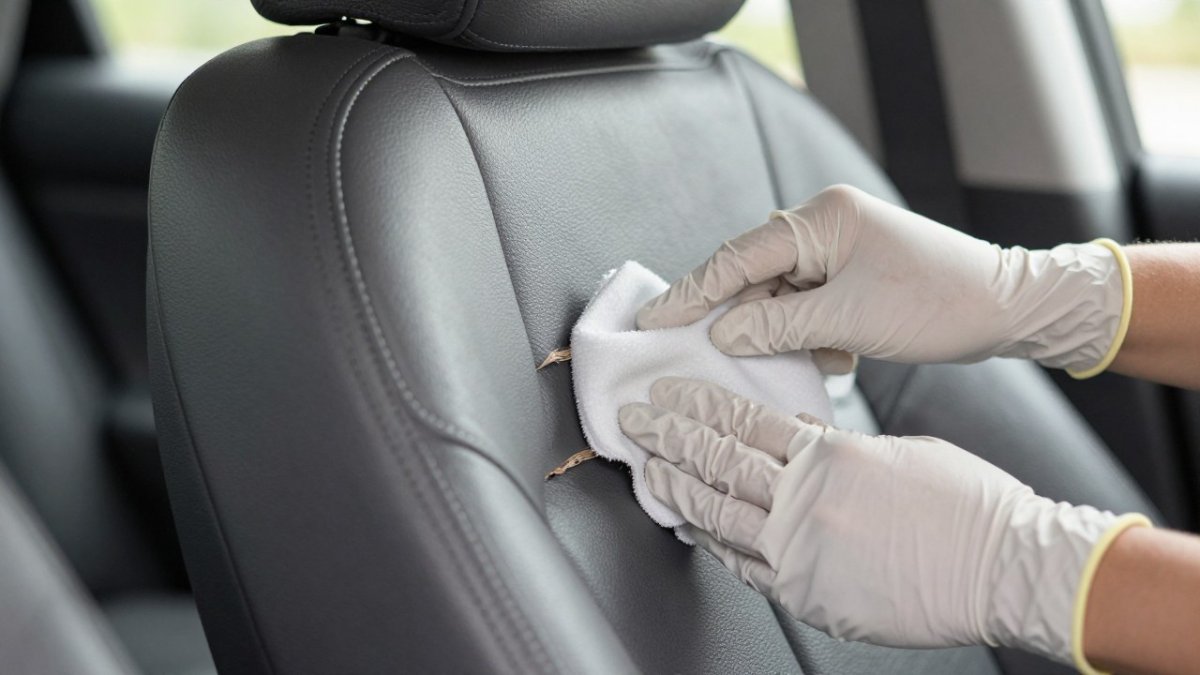
Step 1: Clean the area. Wipe the tear and the surrounding leather with isopropyl alcohol on a lint-free cloth. This removes oils and conditioners that would stop adhesives bonding. Let it dry fully.
Step 2: Prepare the edges. Lightly sand the edges of the tear and roughen the surface around it by about 2 cm. Remove any loose fibres. Wipe away the dust.
Step 3: Fit the backing patch. Slide the backing patch under the tear, through the gap, so it sits behind the leather. Gently press the edges together. Apply adhesive to the patch only, not the whole surface.
Step 4: Apply filler. Use the palette knife to press flexible filler into the gap in thin layers. Build it up gradually, letting each layer partly dry. Overfilling leaves a lump.
Step 5: Smooth and sand. Once the filler is firm, sand it flush with the surrounding leather. Wipe away dust again.
Expected result: the surface should feel level, with no ridges you can catch a fingernail on.
Common mistake: Skipping the alcohol clean. Adhesive applied over oily residue can look fine for days, then peel away.
The core repair runs in five stages, with drying time between each.
| Step | What to do | Time or frequency |
|---|---|---|
| 1. Clean the area | Wipe with isopropyl alcohol on a lint-free cloth | Let dry fully |
| 2. Prepare the edges | Lightly sand edges and roughen about 2 cm around the tear | Once |
| 3. Fit the backing patch | Slide patch behind the tear, adhesive on the patch only | Once |
| 4. Apply filler | Press flexible filler in thin layers | Let each layer partly dry |
| 5. Smooth and sand | Sand filler flush with the surrounding leather | Once firm |
Colour Matching, Dyeing and Curing the Repair
Colour is where most DIY repairs show. Mix colourant in small amounts, testing on a hidden area such as under the seat or a rear edge, first. Dab it on with a sponge in thin coats rather than one heavy layer. Allow each coat to dry before adding the next.
Blend outward from the repair to soften the boundary with the original leather. Stop before you reach the edges of the repaired area so the colour fades naturally.
Curing matters as much as application. Most colourants need several hours to dry and may need gentle heat from a hairdryer on a low setting, held at a distance. Avoid direct high heat, which can shrink or distort the leather. Keep the seat unused for at least 24 hours, and longer for thick filler. Then apply a leather conditioner.
Many people find that a repair looks slightly glossier or more matt than the rest of the seat. A light buff or a second thin coat of colourant usually corrects this.
Safety Checks for Airbags, Seat Heaters and Occupancy Sensors
Modern car seats often hide safety equipment, and a repair can affect it. Before you start, check the owner’s manual or ask a dealer whether the seat has side airbags sewn into the backrest or bolster.
Avoid putting heavy filler or adhesive over any area where an airbag may deploy. Stiff repairs can change how the airbag opens and may cause injury. Keep repairs away from stitching lines that mark airbag panels.
If the seat has heaters, do not use heat tools near the element wiring, and do not let adhesive or filler reach it. Test heater function after the repair has cured.
Some vehicles also use seat occupancy sensors that detect weight. Avoid adding bulk to the seat base, where the sensor sits, as it can cause the airbag warning light to show.
Watch out: If your car shows an airbag or seat warning light after the repair, stop driving until a qualified technician has checked the system.
What a Repair Costs and When to Call Uniqcare
A DIY repair mainly costs the materials, and the spread is wide. Buying individual items separately can work out cheaper if you already own some of the tools. Professional repair costs depend on the size and location of the damage, the leather type, and the colour match required. For current prices, visit the Uniqcare website or request a quote.
What drives the professional price. Four factors matter most: the size of the tear, whether it runs through a seam or bolster, whether the leather is genuine or coated, and how close the colour match needs to be. A small surface scuff on a flat panel is a straightforward job; a split along a flexing bolster on a light-coloured seat takes longer to prepare, fill and blend. Ask for a quote based on photographs so the technician can judge the damage before travelling.
When DIY is worth it. A surface scuff, a small tear under about 2 cm on a flat panel, or a repair on a seat you are not selling soon are all reasonable DIY candidates. The materials cost is low and the risk of making things worse is limited if you follow the preparation steps.
When to call a professional. Calling a professional is usually the better choice when the tear is large, runs along a seam, involves a split right through the leather, or sits over an airbag or sensor area. It is also worth it if you want the repair to be invisible, or if the leather is coated or vinyl and you are unsure which products will bond.
A realistic expectation. A well-executed DIY repair can hold on a low-wear area, but repairs on bolsters and seams flex constantly and may need redoing sooner.
Uniqcare carries out repairs at your home, so you do not need to take the car to a workshop. Our technicians are fully DBS checked. Get a quote from Uniqcare to see what your seat needs.
Frequently Asked Questions
Can you repair a tear in a leather car seat?
Yes. Small tears, cuts and splits can usually be repaired at home with a backing patch, leather filler and colourant, provided the tear is not in a high-flex area and the leather is not badly perished. Larger splits, or tears along a stitched seam or over a seat heater element, are often better handled by a professional, who can match grain and colour more reliably and advise on the safety of the seat’s airbag and sensor systems.
How do you fix a small tear in a leather car seat?
Clean and degrease the area, trim any loose fibres, and slide a flexible backing patch under the tear. Fill the gap with a thin layer of leather filler, let it cure, then sand lightly for a smooth surface. Apply a flexible colourant in several thin coats to match the seat, and finish with a protective topcoat once fully dry. Allow the repair to cure for the time stated on the kit before using the seat.
How much does it cost to repair a leather car seat?
A DIY repair kit is the lowest-cost option, though the price depends on the kit and the size of the damage. Professional repair cost depends on the size, location and number of tears, the colour and grain of the leather, and whether any other work is needed. For current prices, visit the Uniqcare website or request a quote to get an accurate figure for your seat.
Will a leather repair be visible?
A well-executed repair on a small tear is often hard to spot, but the finish depends on accurate colour matching, the correct grain texture and careful blending into the surrounding leather. Repairs on heavily worn or faded seats may still be noticeable up close.