Last Updated: October 30, 2026
Quick Summary
Invisible repair of cuts, scrapes and wear patches means matching the method to the material first, then cleaning, bonding and filling in thin layers before colouring and sealing. Clean and degrease the area, let it dry for at least 30 minutes, and test products on a hidden spot first. Match hue, depth, sheen and texture, not colour alone.
- Work in shade with the cabin between about 18°C and 24°C, letting each stage dry fully.
- Apply flexible leather filler in layers no thicker than about 1 mm, skinning over between coats.
- Most flexible fillers need 12 to 24 hours of curing before you apply colour.
- Take colour 10 to 20 mm past the damage and dust a light coat to remove hard edges.
- Call a professional if damage reaches the foam, is large, or the colour is unusual or two-tone.
Table of Contents
- Assessing Damage Before Any Invisible Repair
- Choosing the Right Method by Material and Damage Type
- What a Leather Car Seat Repair Kit Actually Contains
- How to Repair a Cut in a Leather Car Seat Step by Step
- Step 1, Clean and degrease
- Step 2, Test in a hidden spot
- Step 3, Assess the cut properly
- Step 4, Trim loose fibres
- Step 5, Support underneath
- Step 6, Bond the edges flat
- Step 7, Fill in thin layers
- Step 8, Level while slightly soft
- Step 9, Cure fully
- Step 10, Colour, texture and seal
- Filling, Bonding and Blending the Edges
- Leather Car Seat Colour Restoration and Texture Matching
- When Professional Leather Car Seat Repair Is the Better Call
- Common Mistakes That Make Damage Worse
- Book an Invisible Repair Assessment with Uniqcare
- Frequently Asked Questions
Assessing Damage Before Any Invisible Repair
Invisible repair of cuts, scrapes, and wear patches starts with honest assessment, not a product.
What is the material? Leather, vinyl, fabric, and painted trim all behave differently.
How deep does it go? Run a fingernail across the damage.
Where is it? Damage on a side bolster takes constant friction; a rear door card barely moves.
Here is a quick assessment framework:
| What you see | What it usually means | Realistic outcome |
|---|---|---|
| Light scuff, colour only | Surface layer disturbed | Blends well, often invisible |
| Scratch that catches a nail | Top coat broken, base intact | Very good with filler and colour |
| Cut or tear with lifted edges | Material split through | Good if edges are bonded flat |
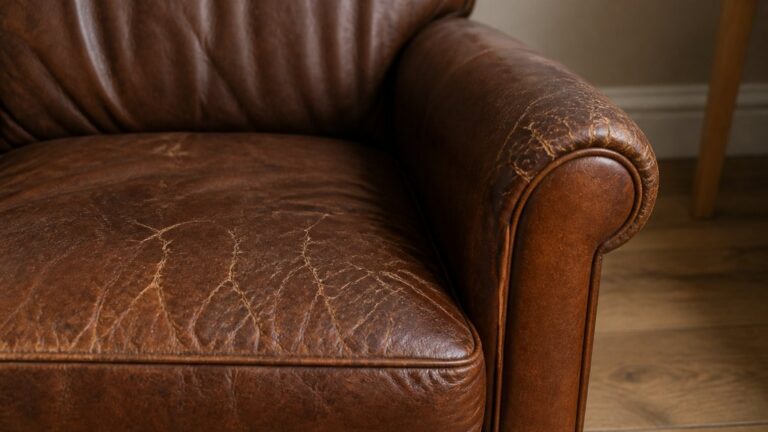
| Wear patch, thinned finish | Coating worn away | Good, but expect repeat visits over years |
| Hole through to foam | Structure gone | Needs backing support first |
| Burn or melted spot | Material fused and hardened | Limited; often visible on close inspection |
Choosing the Right Method by Material and Damage Type
Match the method to the material first, then to the damage. Getting this order wrong is where most home repairs go sideways.
Leather, Vinyl and Fabric Compared
Leather is a skin: it flexes, absorbs, and ages.
Vinyl is a coated synthetic.
Fabric is a weave, not a surface.
Paintwork and trim sit outside the upholstery world.
For cracked surfaces specifically, our guide on how to fix cracked leather car seats step by step walks through the filling and levelling process in more detail.
A simple rule: soft, flexible damage needs a soft, flexible repair; hard, painted damage needs a hard, painted one.
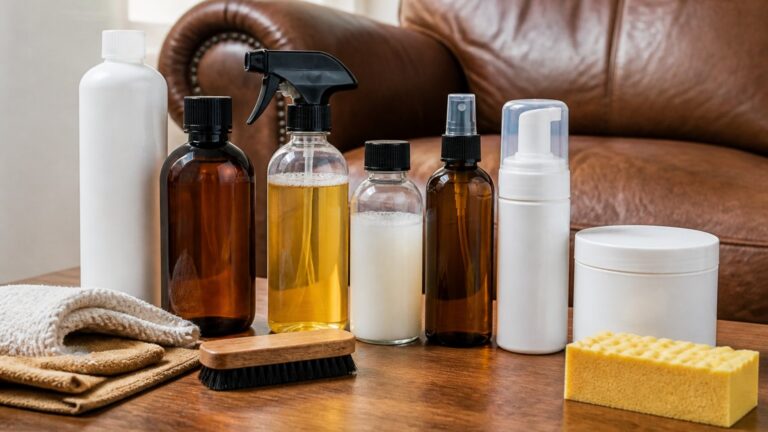
What a Leather Car Seat Repair Kit Actually Contains
Typical contents:
- Cleaner or prep solution to strip oils and silicone before anything bonds
- Leather filler or repair compound, sometimes in a tube, sometimes a two-part mix
- Heat-activated repair patches or self-adhesive patches for larger tears
What most kits do not contain is the thing that matters most: a colour that actually matches.
What most guides miss is that the finishing coat does more work than the colour. A perfect colour with the wrong finish looks like a painted patch.
How to Repair a Cut in a Leather Car Seat Step by Step
Here is a typical workflow for a clean cut with lifted edges. Work in shade, keep the cabin between about 18°C and 24°C, and let each stage dry fully, cold leather and cold adhesive are the two quiet killers of a good repair.
Step 1, Clean and degrease
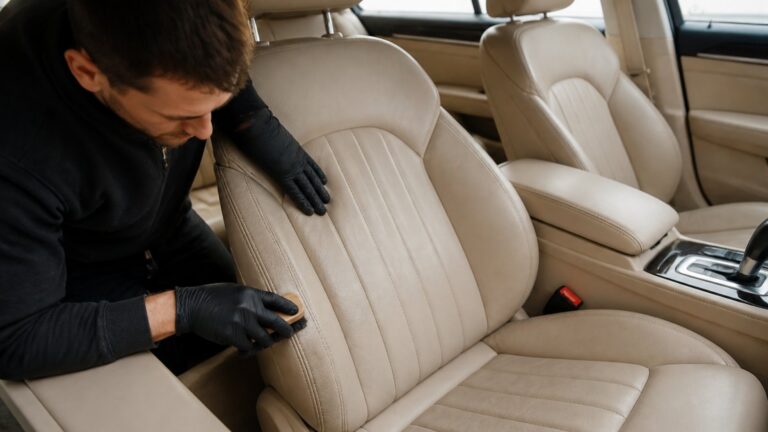
Use a mild leather cleaner on a soft cloth, work it into the cut and the surrounding 50 mm, then wipe off with a clean damp cloth. Let it dry for at least 30 minutes. Any oil, silicone or dashboard dressing left behind will stop the filler bonding, and you will not see the failure until a week later.
Step 2, Test in a hidden spot
Try your cleaner, adhesive and colour on the underside of the seat or a hidden panel first. Some finishes react badly to solvents; some adhesives stain pale leather. A 24-hour test patch tells you more than any label.
Step 3, Assess the cut properly
Run a fingernail across the damage. If the edges lift and the split goes through the top coat into the hide, it needs bonding plus filling. If only the colour is disturbed, you need colour, not filler. If you can see foam, the repair needs backing support first.
Step 4, Trim loose fibres
Snip away frayed edges with small sharp scissors or a scalpel. Loose threads show through every repair and stop the edges sitting flat. Trim conservatively, you cannot put fibres back.
Step 5, Support underneath
For a cut, ease the edges together and, where you can reach, slide a small patch of flexible backing material behind the split. On a seat you can usually reach through the foam from underneath; on a door card you may need to lift the trim.
Step 6, Bond the edges flat
Apply a flexible leather adhesive sparingly to both edges with a fine brush, press them together, and hold until tack sets, usually a few minutes. Do not stretch the leather to close a gap; if the edges will not meet without tension, the cut needs a patch or a professional repair.
Step 7, Fill in thin layers
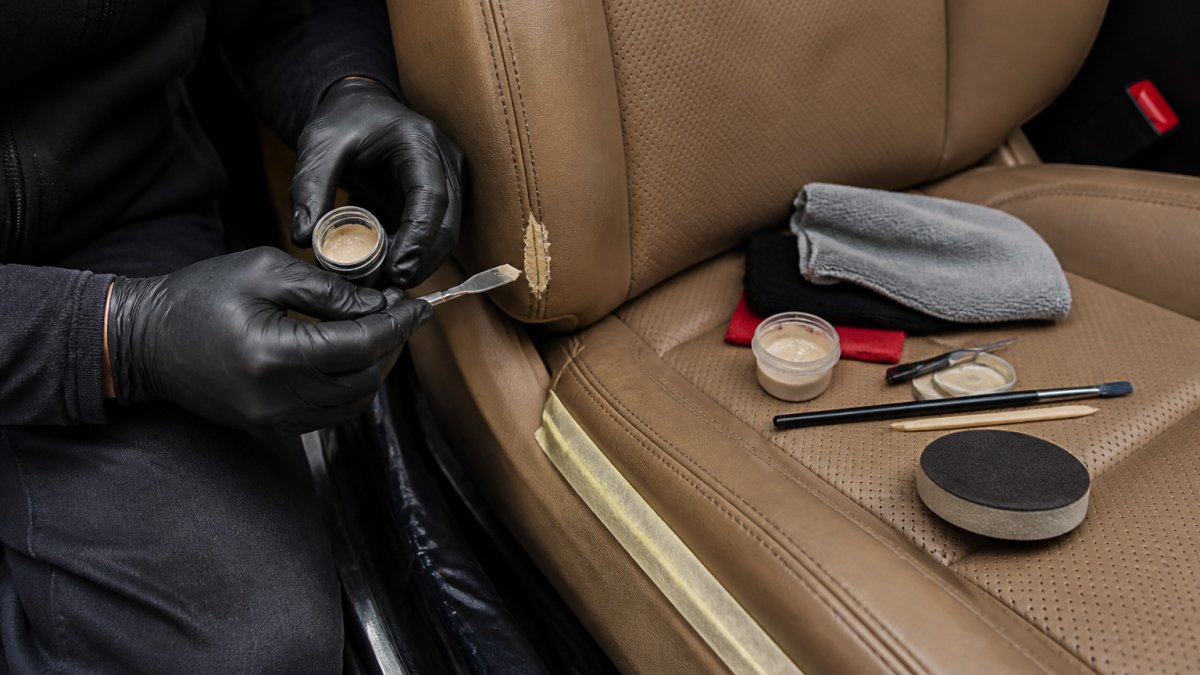
Apply flexible leather filler with a spatula in layers no thicker than about 1 mm, letting each layer skin over before the next. Thick layers shrink, crack and trap solvent. On a deep cut you may need three or four passes over an hour or two.
Step 8, Level while slightly soft
While the final filler layer is still slightly soft, draw a spatula or a lint-free cloth-wrapped fingertip across the repair to sit it flush with the surrounding surface. Overfill slightly, then level back, it is far easier to remove filler than to add it invisibly.
Step 9, Cure fully
Follow the product’s stated cure time, and add margin in cold weather. Most flexible fillers need 12 to 24 hours before colouring. Rushing this stage is the most common reason a repair looks good for a fortnight and then fails.
Step 10, Colour, texture and seal
The repair is now structurally sound but visually obvious. Colour matching, grain stamping and sealing are covered in the next section, do not skip them, because this is where invisibility is won or lost.
If the cut is longer than about 25 mm, or the edges will not meet without tension, stop and consider a heat-activated repair patch or a professional repair. A bonded patch done well beats a stretched filler repair every time.
Filling, Bonding and Blending the Edges
Filling gets the shape back. Bonding stops it reopening. Blending makes it disappear.
Bond the edges of a cut flat before you fill over them.
For the full process, including drying times and finishing, see our step-by-step guide on how to repair leather car seats.
Applying filler over a damp or oily surface is the most common cause of a repair lifting within days. Clean, then wait. If in doubt, wait another hour.
Leather Car Seat Colour Restoration and Texture Matching
Colour restoration decides whether a repair is invisible or obvious. It is also the stage home kits handle worst, and the one most guides skip past with a sentence about “matching the colour”. Here is one practical method.
Match four things, not one
- Hue: the base colour itself
- Depth: how dark the colour reads in shadow
- Sheen: matt, satin or gloss
Most people match hue and stop. Then the repair looks right in the car park and wrong in daylight. Sheen and texture are what the eye reads at an angle, and they are what betray a repair in a photograph or under forecourt lighting.
Mixing and testing the colour
Start with the closest tint in your kit and adjust in small increments, a drop at a time, not a squeeze.
A practical trick: cut a small square of card, paint half with your mix and hold the other half against the seat. Compare at arm’s length and at an angle.
Factory leather fades unevenly, so the colour on your door card is rarely the colour on your bolsters. Match to the panel you are repairing, not to the car’s original brochure colour.
Texture matching
Leather has a grain pattern. A perfectly coloured patch with a smooth surface reads as a patch instantly. Two methods work:
- Grain stamping: press a texture stamp, or a scrap of matching leather, into the filler before it fully cures, then lift cleanly. Practise on a hidden area first; too much pressure flattens the grain, too little leaves it faint.
- Stipple and seal: on finer grains, a light stipple with a sponge or stippling brush in the final colour coat, followed by the finishing coat, breaks up the smooth look enough to pass at normal viewing distance.
Match the sheen last. A matte finish on a satin seat looks chalky; a gloss finish on a matte seat looks wet. Choose a matte, satin or gloss sealer to match the surrounding panel, not the one that happens to be in the kit.
Edge blending
Edge blending is the final step and the one that removes the border. Take the colour 10 to 20 mm past the damage, then dust a light coat over the whole area so the transition has no hard line. Work outward from the repair, not inward, and keep the coats thin.
Realistic expectations
Expect some settling. Fresh colour often reads a shade lighter once fully dry, so test on a hidden area and let it cure before judging.
If the colour is unusual, two-tone, or heavily faded across multiple panels, colour restoration becomes a blending job across the whole seat rather than a spot repair, and that is where professional colour matching earns its keep.
When Professional Leather Car Seat Repair Is the Better Call
Some damage is simply beyond a home kit. Being honest about that saves money and disappointment.
Call in a professional when:
- The damage goes through to the foam or padding
- The area is large, or there are several damaged panels
- The colour is unusual, two-tone, or heavily faded
The last point matters. If you are weighing up the cost, read our guide on whether professional car interior restoration is worth it.
If you want to see what professional work involves before deciding, you can read more about professional car interior scratch repair.
The same logic broadly applies to furniture: a cherished armchair with a split seam is often worth restoring, depending on its condition.
Common Mistakes That Make Damage Worse
The fastest way to turn a small scuff into a visible repair is to rush the prep.
- Skipping the clean. Silicone from dashboard sprays is invisible and stops everything bonding.
- Using the wrong filler. Rigid filler on flexible leather cracks within weeks.
- Overfilling. A raised patch catches light and draws the eye straight to it.
A common mistake is buying a kit, opening it, and starting on the visible damage. Practise on a hidden panel first.
Also respect the limits. Deep burns, melted vinyl, and rot are unlikely to be made invisible, though they can sometimes be stabilised and improved.
Book an Invisible Repair Assessment with Uniqcare
The difference between a repair that disappears and one that shouts is usually assessment, not product. That is the part we handle.
At Uniqcare, our technicians are fully DBS checked and carry out repairs at your home, so there is no need to move the furniture or the car.
If you are unsure whether your damage is repairable, or you have already tried a kit and made it worse, get in touch for a quote. You can also see how our mobile car seat repair service works.
Best for: leather and fabric furniture with cuts, scuffs, or wear patches, and vehicle interiors needing a tidy, invisible finish.
Frequently Asked Questions
Can a cut in a leather car seat be repaired invisibly?
Most small cuts and scuffs can be repaired to a standard where the damage is very hard to spot, provided the leather is cleaned, filled and colour-matched properly. The key is assessing depth first: a cut that has gone through to the backing foam needs a filler built up in thin layers, then texture and colour blended into the surrounding panel. Larger tears, hardened leather or damage across a seam are less likely to disappear completely and may need a professional assessment.
What is in a leather car seat repair kit and do I need one?
A typical leather car seat repair kit includes a cleaner, a flexible filler or repair compound, applicator tools, a colourant matched to your trim, and a sealant or protector. Kits suit small scuffs, surface scratches and minor wear patches on smooth leather. They are less suited to deep tears, perforated leather or damage on vinyl with a heavy grain, where colour and texture matching by hand is difficult. Check the kit covers your leather type before buying.
How long does leather car seat colour restoration take to dry?
Drying times depend on the products used and the ambient temperature. Water-based colourants typically touch-dry within 15 to 30 minutes per coat, with two to three thin coats applied. Fillers usually need longer between layers, often an hour or more. Full curing before you sit on the seat is usually 24 hours. Avoid heat guns and direct sunlight, which can cause the colourant to dry unevenly and leave a patchy finish.
Is it better to repair or replace a damaged leather car seat?
Repair usually wins on cost and keeps the original trim matching the rest of the interior. A replacement seat cover or full retrim can cost several hundred pounds and risks a colour mismatch with the other seats. Repair makes sense when the damage is localised, the leather is still supple and the surrounding panel is sound. If the leather has cracked across a wide area or the foam underneath has collapsed, replacement or a professional restoration is the more sensible route.
Most damage looks worse than it is, and most failed repairs come from the same handful of shortcuts. Get the assessment right, match the method to the material, and take the finishing stages seriously, and the results speak for themselves. Where you would rather not risk it, get a quote from Uniqcare and let a technician assess the damage at your home, with a clear answer on what can be made invisible and what cannot.