Last Updated: 25 October 2026
Quick Summary
To restore worn steering wheel leather, clean the rim with a leather-safe cleaner, fill cracks with a flexible filler, then recolour with thin coats of matched dye and finish with a sealant. Work in thin layers and let each one dry fully, because preparation decides the finish.
- Use fine-grade sandpaper around 800 to 1200 grit to feather damaged edges before filling.
- Apply leather cleaner to a microfibre cloth, never directly to the wheel, and keep water out of the stitching.
- Two to three thin coats of dye usually cover well, and each coat must dry first.
- A flexible filler is essential because a rigid compound will crack on a wheel that flexes daily.
- Call a professional when cracks are deep enough to feel with a fingernail or a DIY repair has already failed.
Table of Contents
- What You’ll Need Before You Start
- Step 1: Assess the Wear on Your Steering Wheel Leather
- Step 2: How to Clean a Leather Steering Wheel Properly
- Step 3: Filling Cracks and Scuffs Before You Recolour
- Step 4: How to Recolour a Leather Steering Wheel
- Choosing the Right Leather Steering Wheel Repair Kit
- When to Choose Professional Leather Steering Wheel Repair
- Book a Steering Wheel Restoration Assessment
- Frequently Asked Questions
What You’ll Need Before You Start
Restoring worn steering wheel leather is a job you can do at home with the right kit and a couple of hours of patience. At Uniqcare, we know this job lives or dies on preparation. Get the materials right and the finish will look factory-fresh. Cut corners and you will end up with a patchy, sticky wheel.
Here is what to gather before you touch the wheel:
- A leather-safe cleaner, not a household all-purpose spray
- A soft microfibre cloth and a soft detailing brush
- Fine-grade sandpaper (around 800 to 1200 grit)
- A leather filler or flexible repair compound
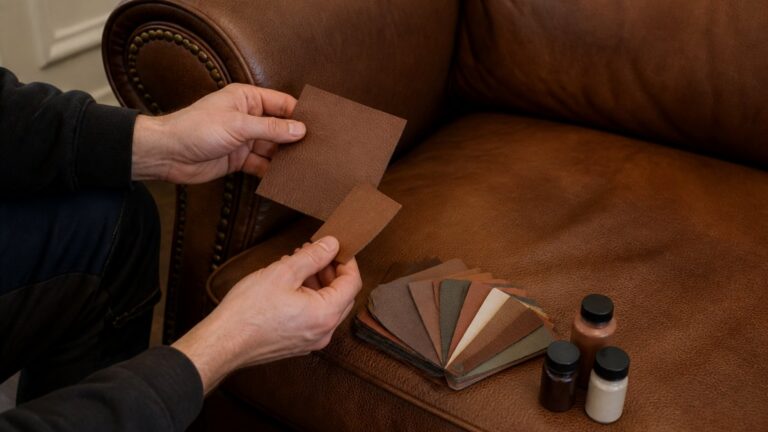
- Leather dye matched to your wheel’s colour code
- A sealant or protective top coat
- Low-tack masking tape and nitrile gloves
Watch out: household cleaners and harsh degreasers strip the factory finish and leave the leather dry and cracked. Only use products labelled safe for automotive leather.
Gather these materials before you begin so the repair bonds properly and the finish lasts.
| Item | Purpose | Note |
|---|---|---|
| Leather-safe cleaner | Cleans the grain before repair | Not a household all-purpose spray |
| Microfibre cloth and soft detailing brush | Apply cleaner and lift loose dust | Dampen the cloth, never the wheel |
| Fine-grade sandpaper | Feathers damaged edges before filling | Around 800 to 1200 grit |
| Leather filler or flexible repair compound | Fills cracks and scuffs | Flexible filler resists daily flexing |
| Leather dye | Recolours the wheel | Matched to your wheel’s colour code |
| Sealant or protective top coat | Locks in colour and protects against hand oils | Protection is not optional |
| Low-tack masking tape and nitrile gloves | Masks spokes, buttons and stitching | Keeps dye off unwanted areas |
Step 1: Assess the Wear on Your Steering Wheel Leather
Before you buy anything, look closely at what you are dealing with. Steering wheel leather wears in predictable places: the top arc where your palms rest, and the sides where your thumbs grip. Shiny, slick patches mean the protective top coat has worn through. Cracks, scuffs and colour loss mean you need a fuller repair.
Run your fingertips across the surface. Rough, raised edges signal deeper damage. Smooth, glossy areas are usually just surface wear.
A quick test helps here. Rub a damp cloth on a hidden spot. If colour lifts onto the cloth, the finish is already breaking down. That is good news for a recolour, because the old coating will take a new dye well.
Decide early whether this is a clean-and-condition job or a full repair. Most worn wheels need both. Knowing the answer stops you wasting money on products you will not use.
Step 2: How to Clean a Leather Steering Wheel Properly
Cleaning is the step most people rush, and it is the one that decides the final result. Dirt, hand oils and old conditioner sit in the grain and stop dye and filler from bonding. Skip it and your repair will peel within weeks.
Work in this order:
- Brush loose dust from the seams with a soft detailing brush.
- Apply a small amount of leather cleaner to a microfibre cloth, not directly to the wheel.
- Work in circles over the whole rim, paying attention to the worn top arc.
- Wipe away residue with a clean, damp cloth.
- Let the wheel dry fully before moving on.
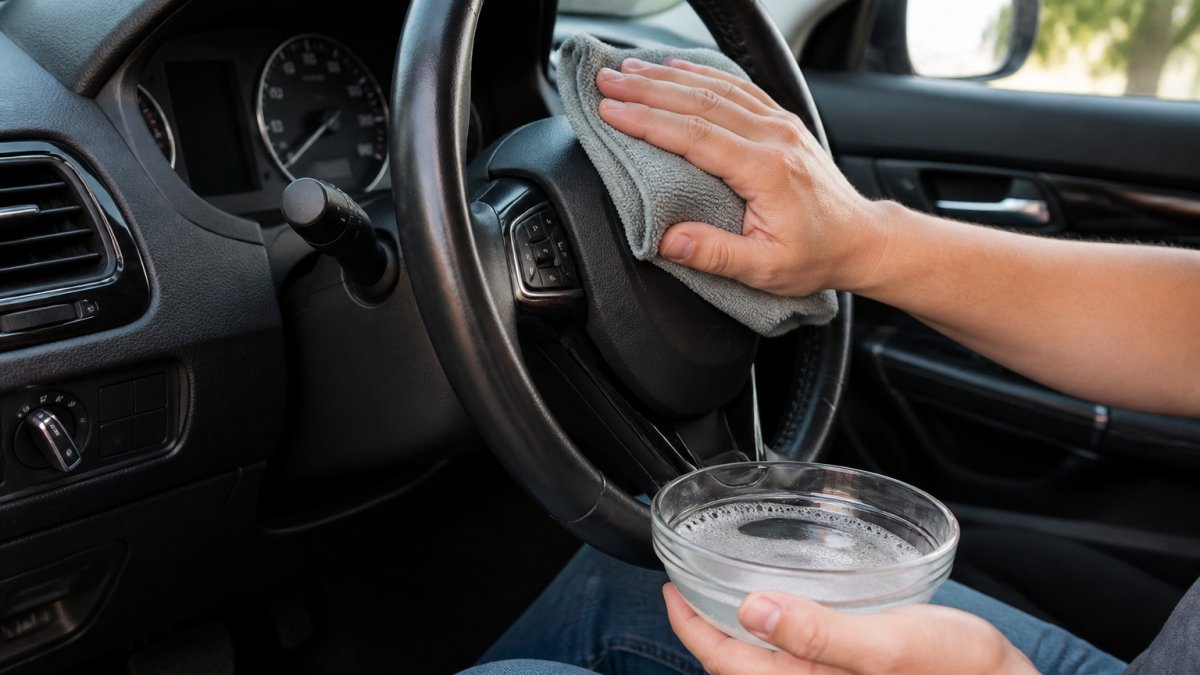
For a deeper walkthrough on choosing and using cleaners and conditioners, our leather cleaner guide covers the products and techniques in more detail. A common mistake is soaking the leather. Dampen the cloth, never the wheel, and keep water out of the stitching.
Step 3: Filling Cracks and Scuffs Before You Recolour
Filler is what separates a lasting repair from a cosmetic cover-up. Dye alone will not hide a crack; it just colours the gap and the crack reappears as soon as the wheel flexes.
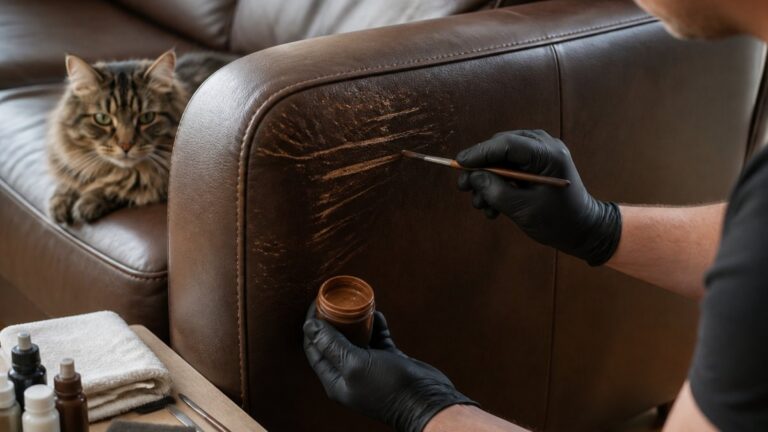
Lightly sand the damaged area with fine-grade paper to feather the edges. Wipe away the dust. Apply the leather filler in thin layers, letting each one dry before adding the next. Build up until the surface sits level with the surrounding leather. A flexible filler matters here, because a rigid compound will crack again the moment you grip the wheel.
Let the final layer cure fully. This is where patience pays off. Rushing the cure means the dye will not sit flat.
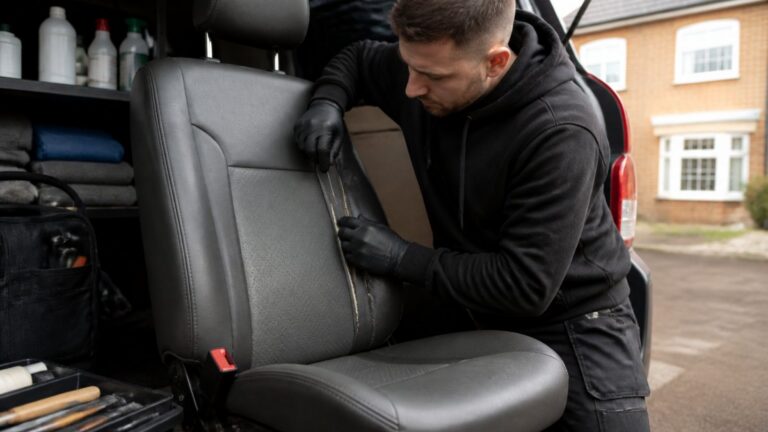
If you are also tackling seats, our step-by-step leather car seat repair guide walks through filling and prep in more depth, and the same principles apply to the wheel.
Step 4: How to Recolour a Leather Steering Wheel
Recolouring brings the wheel back to life, and it is simpler than it sounds. The key is thin coats and full drying time between them.
- Mask off the spokes, buttons and stitching with low-tack tape.
- Shake the dye well and apply it with a sponge or airbrush in thin, even coats.
- Dry each coat before adding the next; two to three coats usually cover well.
- Finish with a sealant to lock in the colour and protect against hand oils.
Watch out: heavy single coats look patchy and dry unevenly. Several thin layers always beat one thick one.
Matching the colour is the hard part. Use your vehicle’s colour code where you can find it, and test on a small hidden area first. For a related walkthrough on fixing and restoring cracked leather, see our guide on how to fix cracked leather car seats step by step.
Choosing the Right Leather Steering Wheel Repair Kit
A good repair kit saves you from buying six separate products and guessing at compatibility. Look for a kit that includes cleaner, filler, dye and sealant together, matched to automotive leather.
Check these points before you buy:
- Flexible filler: a rigid compound will crack on a wheel that flexes daily.
- Colour matching: a kit with a mixing guide or colour chart beats a single fixed shade.
- Sealant included: protection is not optional on a surface your hands touch every day.
- Clear instructions: a kit that explains cure times is worth more than a cheaper one that does not.
What most guides miss is that the kit matters less than the technique. A budget kit applied carefully outperforms a premium kit rushed in an afternoon. Buy for the filler and sealant quality, and follow the cure times to the letter.
When to Choose Professional Leather Steering Wheel Repair
DIY suits light wear, shiny patches and small scuffs. It stops making sense when the damage is deep, the colour is hard to match, or the wheel has splits that reach the foam underneath.
Signs it is time to call in a professional:
- Deep cracks or splits you can feel with a fingernail
- Colour that will not match, even after testing
- A wheel that has already had a failed DIY repair
- Damage across a large area of the rim
Professional leather steering wheel repair gets you a colour and texture match that is hard to achieve at home, and it avoids the risk of making a small problem worse. Weighing up the cost against a replacement wheel or a new car interior is worth doing honestly. Our guide on whether professional car interior restoration is worth it gives an honest comparison of DIY against hiring a pro.
Book a Steering Wheel Restoration Assessment
If the wear has gone past what a kit can fix, the sensible next step is a proper assessment. At Uniqcare, our technicians come to your home, assess the damage and give you a clear picture of what a repair involves before you commit to anything.
We have over 40 years of experience and fully DBS-checked technicians, and we carry out repairs at your home with minimum fuss. Our work covers invisible repair of cuts, scrapes and wear patches, and we restore the look and value of leather, fabric and carpets. Pricing depends on the damage, so get in touch for a current quote rather than guessing at a figure.
Not sure what a visit involves? Our guide on the mobile car seat repair service explains how an assessment works and what to expect on the day.
Frequently Asked Questions
Can worn leather on a steering wheel be restored?
Yes, in most cases. Surface wear such as fading, light cracking, and scuffing can be restored by cleaning, filling any cracks, and recolouring the steering wheel leather. Deep tears or leather that has worn through to the backing may need professional leather steering wheel repair or replacement. A quick assessment of how deep the damage goes will tell you which route is realistic.
How do you clean a leather steering wheel without damaging it?
Use a pH-neutral leather cleaner and a soft microfibre cloth, working in small sections. Avoid household detergents, alcohol wipes, and stiff brushes, which strip the protective finish and speed up cracking. Wipe away residue with a damp cloth, dry with a towel, then apply a leather conditioner. Cleaning regularly is the simplest way to prevent the wear that leads to a full restoration.
Can you recolour a faded leather steering wheel?
Yes. After cleaning and filling any cracks, a leather dye or colourant matched to your interior can bring back an even finish. Apply thin coats with a sponge or airbrush, letting each layer dry, then seal with a topcoat. Colour matching is the tricky part, so test on a hidden area first or use a professional leather steering wheel repair service for a seamless result.
How long does leather steering wheel restoration take?
A DIY clean, fill, and recolour typically takes a few hours plus drying time between coats, so plan for a full day without driving. Professional leather steering wheel repair is often quicker and can be carried out at your home or workplace, with many cosmetic repairs completed in a single visit. Ask for a time estimate when you request a quote.
Worn steering wheel leather rarely fixes itself, and a failed DIY attempt can cost more than doing it right the first time. If you would rather hand the job to someone who does this every day, Uniqcare offers home visits, invisible repairs and a cost-effective approach backed by four decades of experience. Get a quote from Uniqcare and bring your interior back to how it should look.